
Geely Chef Li Shufu hat gut lachen, im Mai ist der Absatz bei Geely durch die Decke gegangen. Das Unternehmen konnte seine Verkäufe um satte 61% zum Vorjahr steigern und ist in diesem Jahr voll auf der Erfolgsspur. In den ersten 5 Monaten konnte Geely bereits knapp 640.000 Fahrzeuge absetzen, was einem Plus von 41% zum Vorjahr entspricht. Insbesondere im Bereich der Crossover SUVs sind dabei die Verkäufe explodiert. Alleine in diesem Fahrzeugsegment konnte Geely im Mai mehr als 50% seines Absatzes verbuchen.
Geely steigt damit so langsam aber sicher in die Bel Etage der chinesischen Autohersteller auf. Das Konzept von Li Shufu geht auf, Know How durch strategische Zukäufe zu sichern und gezielt in eigene Produkte einzubringen. Bestes Beispiel dafür ist die von Geely neu platzierte Marke Lnyk & Co., die nun seit Anfang des Jahres mit dem SUV Lynk & Co. 01 am Markt ist. Unter Berücksichtigung, dass der Lynk & Co. 01 kein Schnäppchen in China ist, konnte Geely im Mai rund 10.000 Fahrzeuge vom SUV 01 absetzen. Hohe Qualität und der Technologiebackground von Volvo lassen auch bei chinesischen Käufern durchaus höhere Verkaufspreise zu. Wie gesagt, dass Konzept von Li Shufu geht auf, Lynk & Co. entwickelt sich prächtig in China. Insofern darf man im nächsten Jahr auf den Start der Marke in Europa gespannt sein.
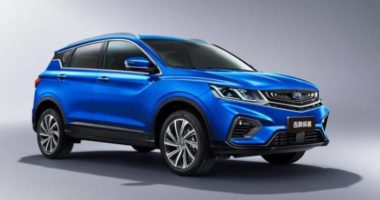
Erfolgsmodell bei Geely ist weiterhin das Crossover SUV Boyue, der sich auch im Mai wieder in den Top 10 der best verkauften Modelle in China platzieren konnte. Das auch der Boyue Volvo Gene hat ist unverkennbar. Das Fahrzeug wurde von Peter Horbury designed und bedient sich auch bei Antriebsstrang und Motoren bei Volvo. In den zwei Jahren in denen der Geely Boyue nun am Markt ist, konnte Geely bereits 500.000 Fahrzeuge absetzen. Der Boyue wird seit 2017 auch im Ausland verkauft und rollt zb. unter dem Namen Emgrand X7 auf Russlands Straßen.
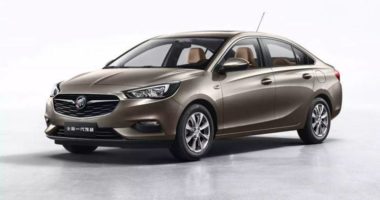
Im Sinne der neuen Dual Credit Richtlinie war Geely im Mai auch aktiv und hat die Kompaktlimousine Geely Borui als GE Version auf den Markt gebracht. Den Käufern steht ab sofort wahlweise der Borui GE als Plug-In Hybrid und als Benziner mit 48-Volt-System (Mild-Hybrid) zur Verfügung.